A Guide to Diablo IV's Tempering System
Vessel of Hatred Season 6 Refresher
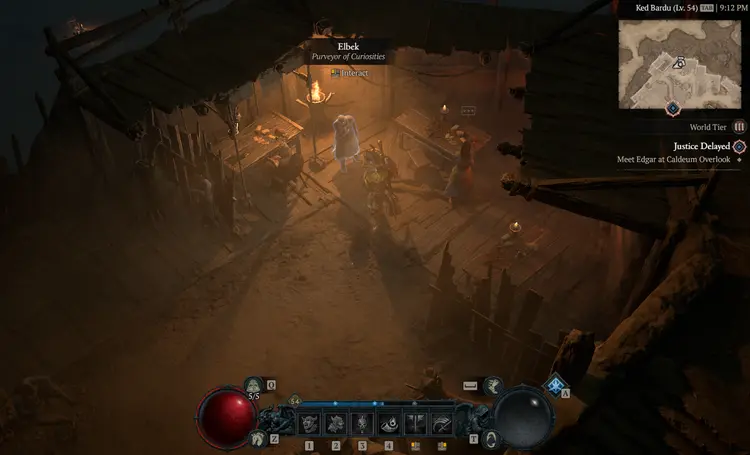
Season 4 has introduced several new systems designed to enhance gameplay. If you're returning to the game, especially for the expansion, you may find yourself unfamiliar with some of these updates. One key addition you should know about is the tempering system, which is essential for maximizing the potential of your equipment. In this guide, I’ll walk you through the tempering system, how it works, and why you should be using it.
What is the Tempering System?
The tempering system is a mechanic introduced to address a longstanding problem in Diablo 4 and many other games—random, undesirable stats on dropped equipment. Often, you'll pick up a piece of gear only to find stats that are irrelevant to your build, such as fire damage bonuses when you're running an ice build. This system allows you to strip these hyper-specific effects from items and make your gear more useful and versatile.
In essence, tempering lets you customize gear by adding specific effects or enhancing certain stats, ensuring your equipment suits your character's needs. This means you'll no longer have to discard gear with good potential simply because it includes one or two bad stats.
How Does Tempering Work?
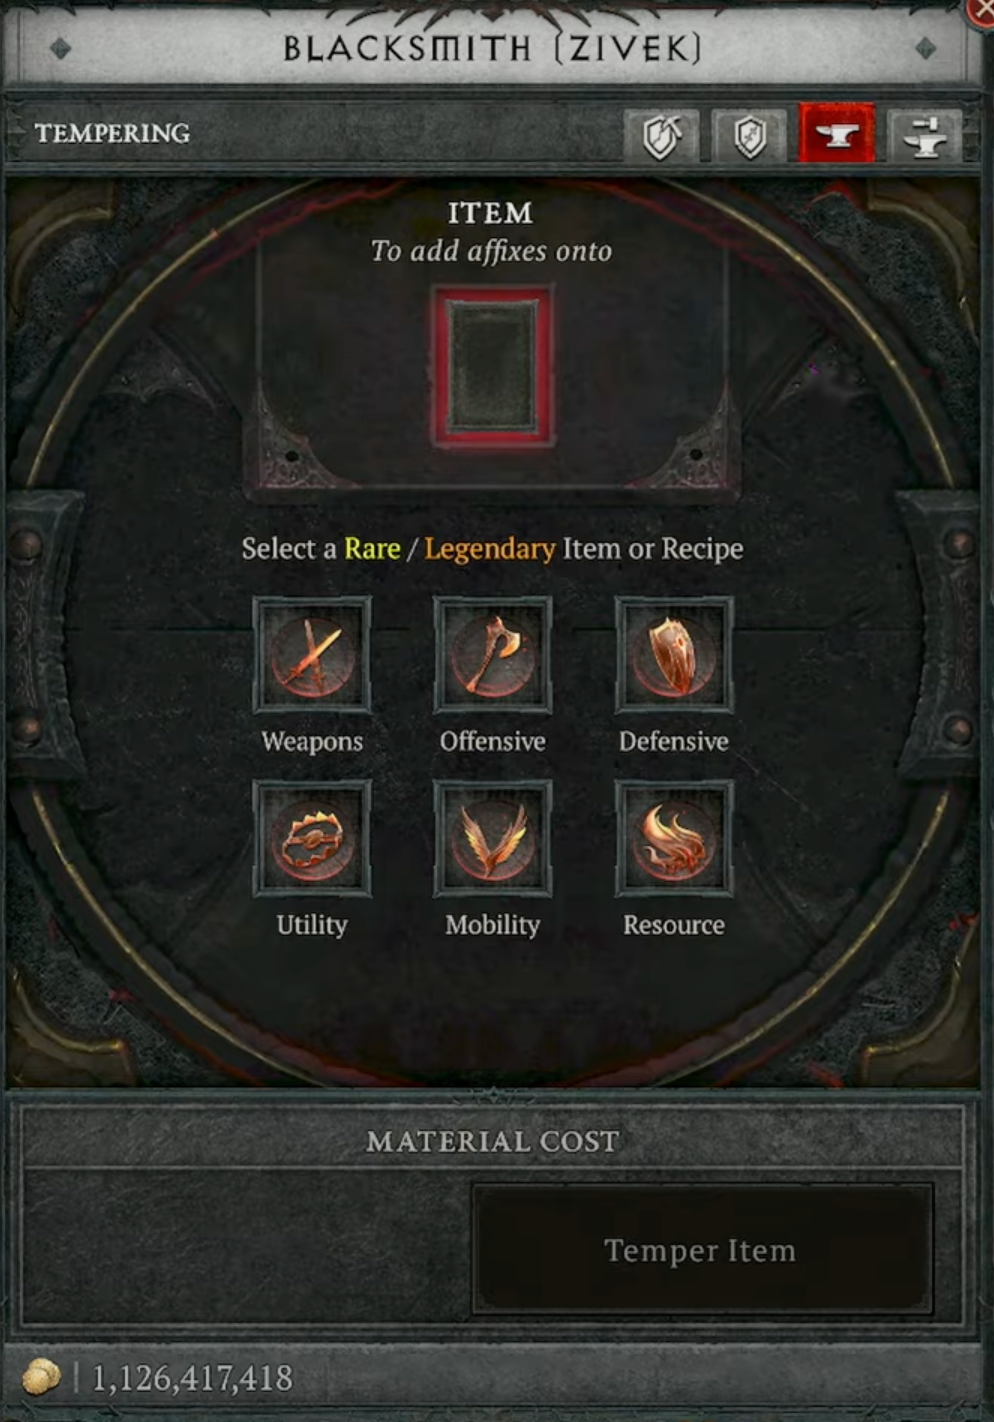
Tempering is available from the blacksmith from level 1, and there’s no reason not to use it. You’d be missing out on a significant power boost if you skip tempering your equipment. Here’s how it works:
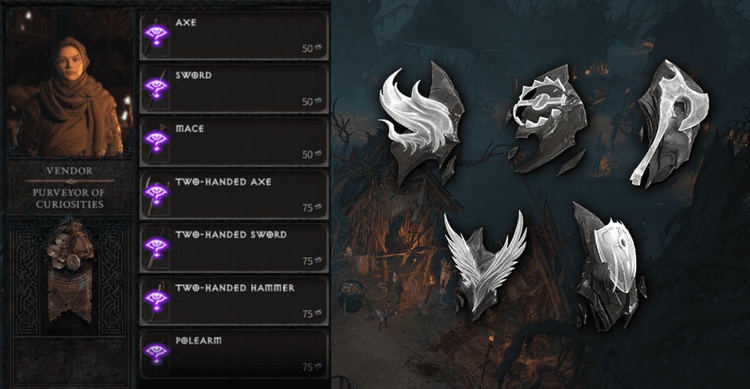
- Categories and Item Types:
- Items can be tempered across different categories: offensive, defensive, mobility, and others. Each category corresponds to specific gear types. For instance, the offensive category includes weapons, amulets, gloves, and rings, while defensive gear includes helmets, armor, shields, etc.
- Adding Tempers:
- Each item can have up to two tempers. Once you've added two tempers to an item, it becomes eligible for masterworking, a separate system that further enhances your gear. Low-level equipment may only allow one temper, but as you progress, you’ll get more options.
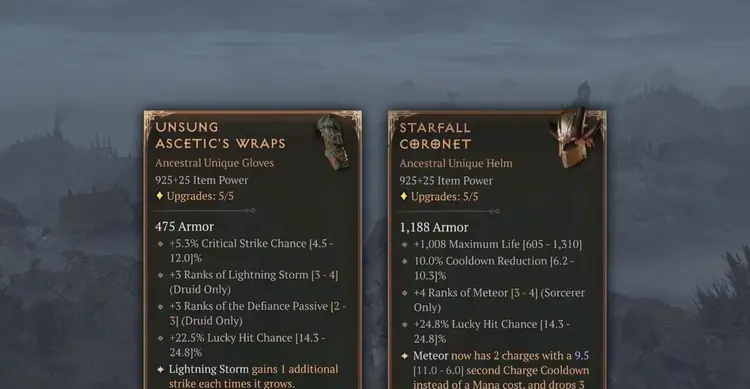
- Tempering Effects:
- The effects of tempers can range from increased damage to specific skills (like a double-casting ) to broader buffs like cold damage increases. The more specific the temper, the more powerful it tends to be. For example, you might get a higher percentage boost to
 Fireballdamage than to all cold spells.
 Blizzard
- The effects of tempers can range from increased damage to specific skills (like a double-casting
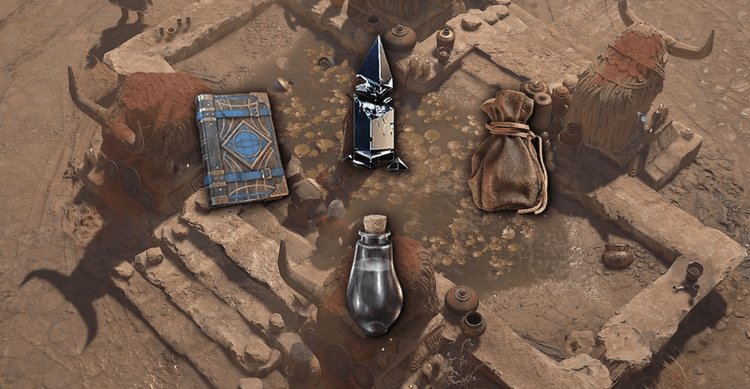
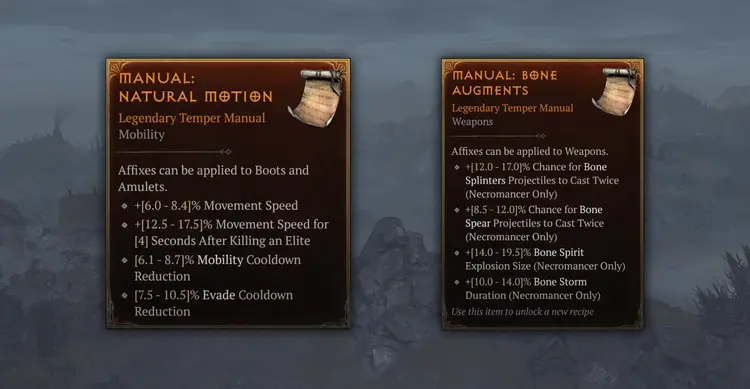
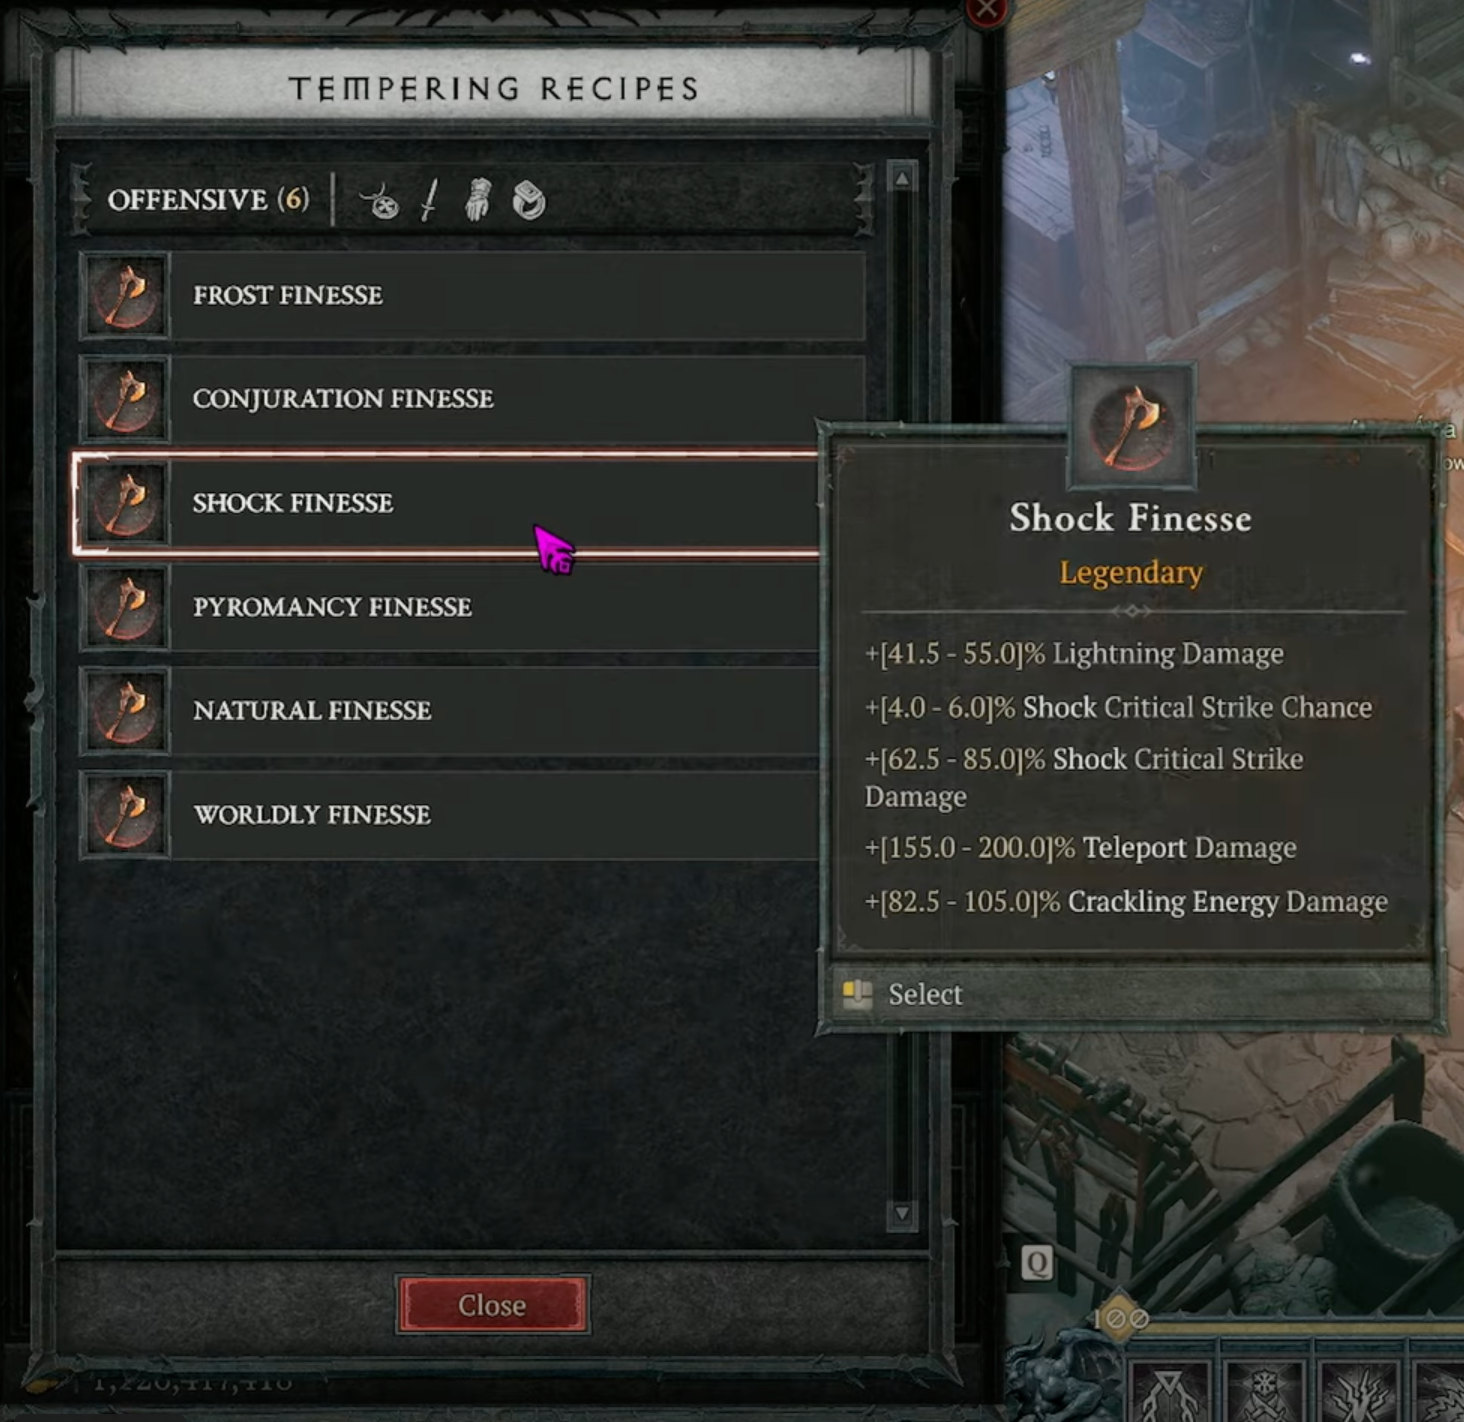
- Tempering Manuals:
- These manuals drop from monsters, bosses, and other activities in the game. They come in three rarities: magic, rare, and legendary, with legendary being the most potent. Once you learn a tempering manual, it becomes a permanent option for enhancing your gear, so don’t stash them—use them immediately!
Maximizing Your Character’s Power
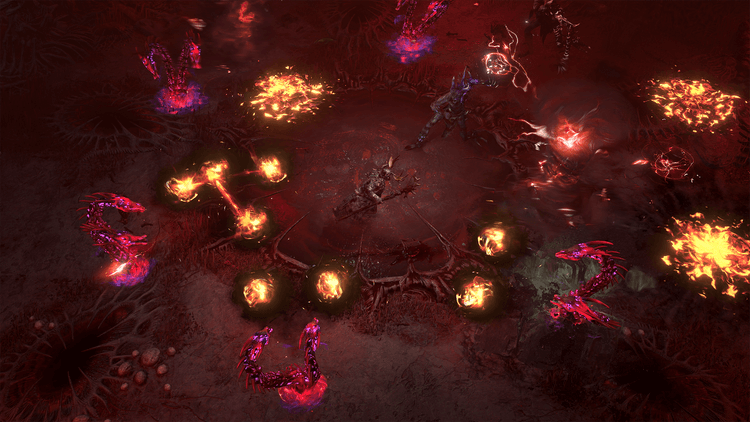
One of the main benefits of tempering is the ability to enhance your character’s damage output significantly. For example, adding a temper that causes projectiles to cast twice essentially doubles your damage. It’s like holding two fireballs in your hand, ready to wreak twice the havoc on your enemies. Other tempers can enhance resource generation, cooldown reduction, or survivability by increasing resistances or armor values.
As you reach higher levels and face tougher enemies, the penalties in World Tier 4 will become significant. Negative armor and resistance penalties will demand that you use the tempering system to bolster your stats and stay competitive. Adding natural resistance or total armor value tempers to your gear will become essential for staying alive in these harsher environments.
Managing Frustrations with Tempering
While the tempering system offers a lot of flexibility, there is some RNG involved when applying tempers. You might not always get the exact effect you want on the first try, but don’t worry! Each attempt costs some resources (like
What's Coming Next?
Season 6 will bring some significant changes to the tempering system, making it even more accessible. Expect fewer random options when applying tempers, which will make it easier to get the effects you need. Weapon tempers, in particular, will remain some of the most powerful upgrades you can apply to your character, offering multiplicative bonuses like double-casting projectiles.
Key Takeaways
- Always temper your gear: Skipping this will leave your character underpowered compared to others.
- Use the manuals immediately: These aren’t consumables, so add them to your list of available tempers as soon as you find them.
- Masterworking: After adding two tempers, you can move on to masterworking, which is a whole other way to improve your items (more on this in another guide).
- Be prepared for RNG: If you don’t get the temper you want right away, keep trying or use a Scroll of Restoration to reset your item’s temper limit.
By taking advantage of the tempering system, you’ll have a more powerful and versatile character, ready to tackle even the most difficult content. So next time you pick up a piece of gear, think about how you can make it work for you!